
A cheeky bathroom makeover? Okay then - just throw on a lick of paint and put up some new decorations, right? How hard can it be..? WELL... carry on reading to find out how decorating is not as easy as it appears on your favourite Instagram accounts. Enter an exposé on the realities of decorating in isolation, including top tips and decor fails...
BEFORE // AFTER


This post is to document my honest decor journey and also shine a light on some issues you may need to tackle whilst redecorating. It's about having a little laugh at my misdemeanours and spreading a positive message. Particularly in today's world where we are seeing so many 'grammers show us all how "simple" decorating is- when actually, this isn't always entirely true.
(The dreaded) BEFORE shots:
As you can see this hideous bathroom is long overdue some TLC. Whoever would paint the walls that gloomy brown, I do not know. As you can see, the bathroom needed a deep clean, the tiles re-grouted, walls painting and some serious styling.


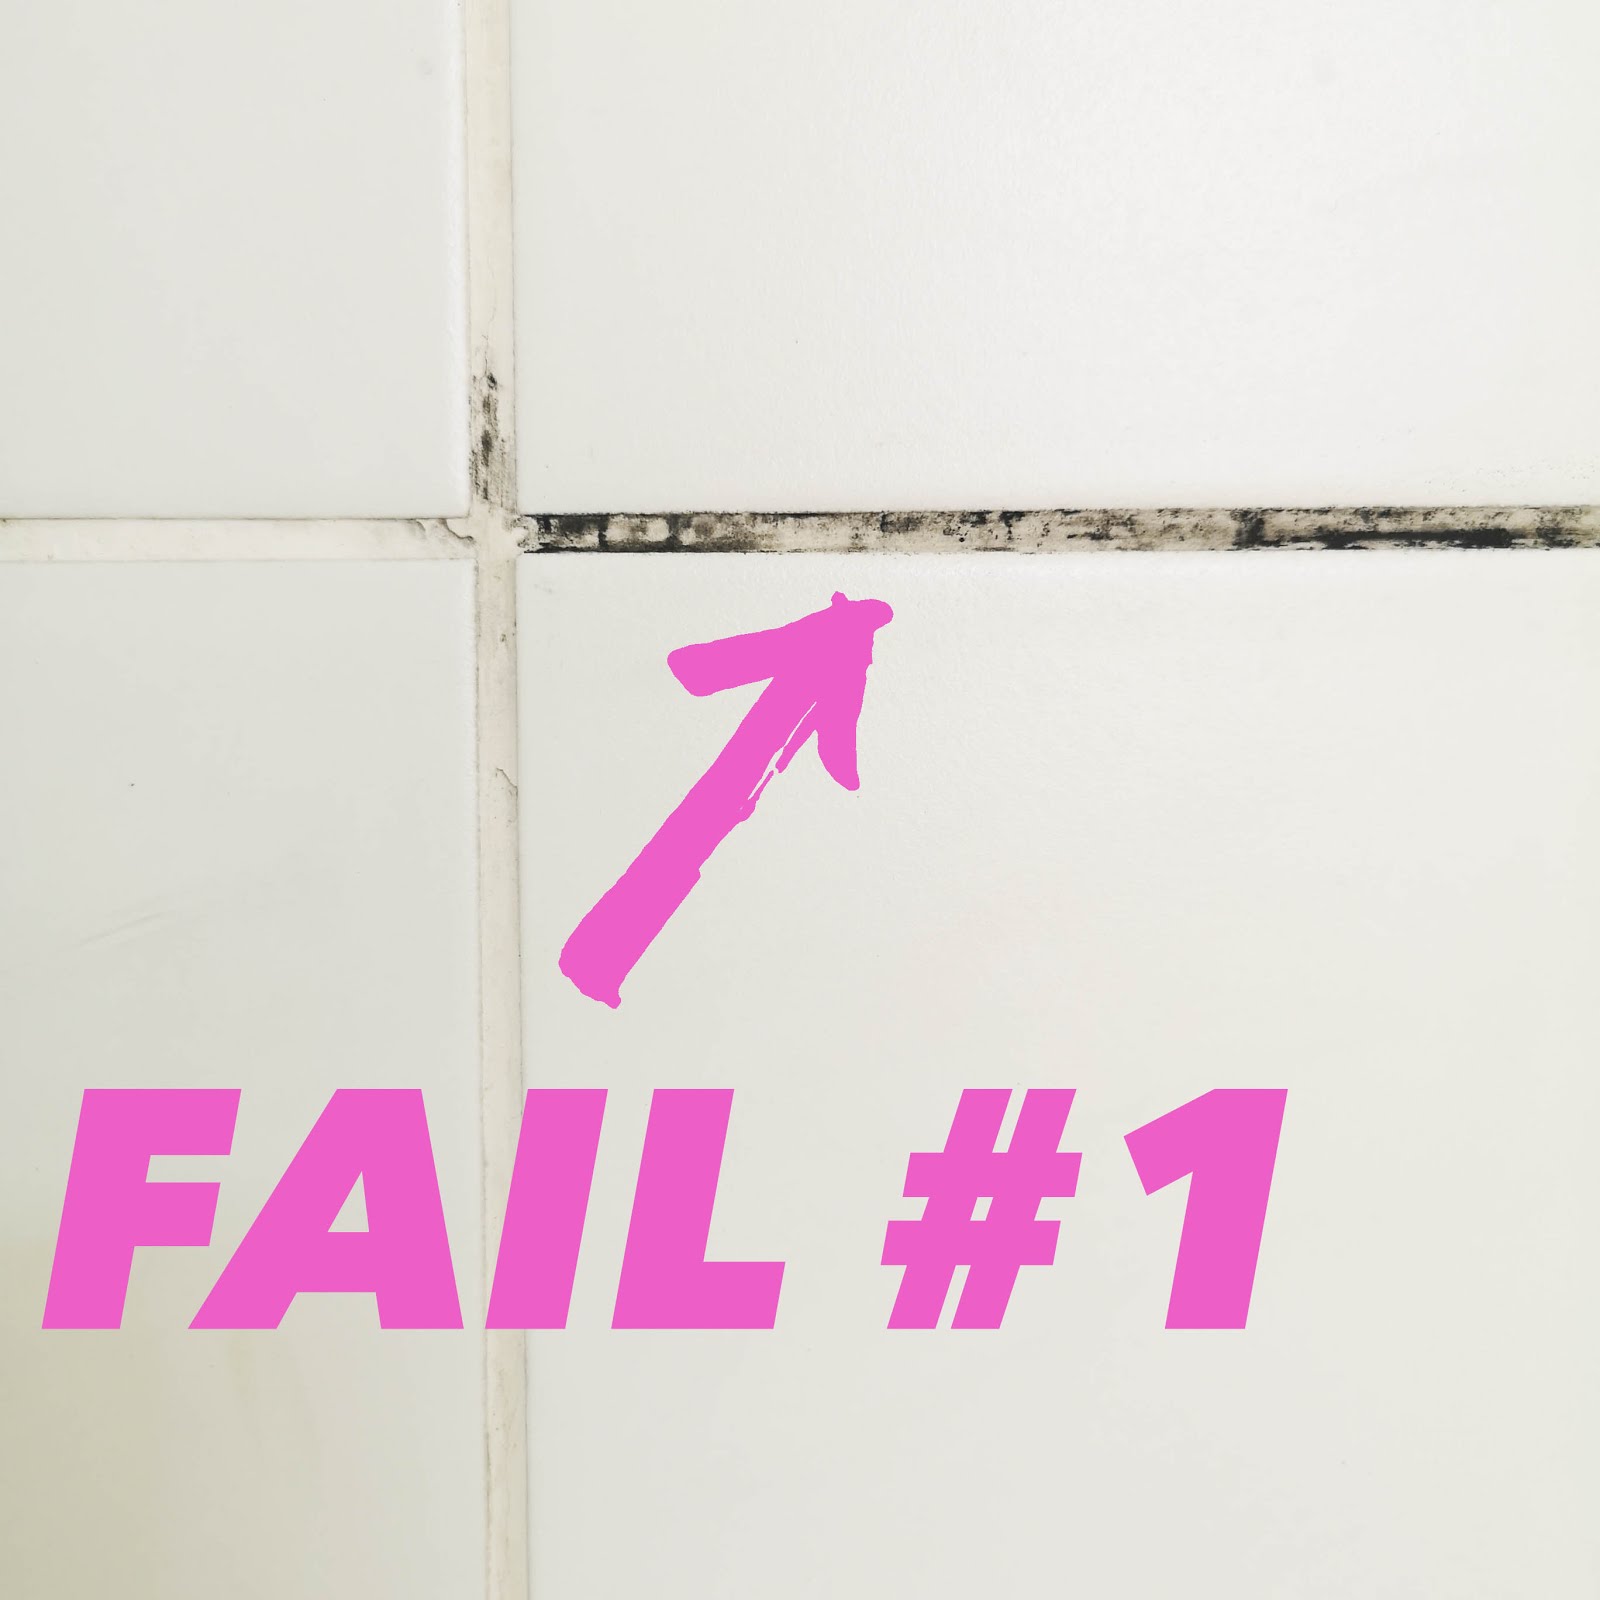
First things first - tackling that grout
I had read a lot of exciting things (mostly from instagram) regarding a quick fix that, I thought, would be the nimbus 2000 to our decorating tale- insert 'the grout pen'. An 8th wonder of the world which would both save our bathroom and create a flock of insta followers overnight; thus propelling me toward my fortune as an insta-interior-influencer of the universe.
The idea of a grout pen is that it is a quick, easy and effective way to refresh your tiled areas to give them a new lease of life without completely re-grouting. As someone that hadn't the faintest idea about grouting, this seemed like a life line. You draw along the existing grouting and essentially colour it in- perfect. Easy.

First step, we needed to deep clean the existing tiles and grout prior to applying the pen. Cut to the first hero of this story- the beloved 'Sugar Soap'. A £2.50 (Wilko -click) liquid of dreams that cleans the hell out of multiple surfaces. I cannot recommend it enough.

So here goes. The cleaning is done, the area is prepped and we are ready to use the grouting pen of wonder. All of my black grouting dreams soon come true...

Umm... Anyone else have major issues about this??
No matter how I used the pens, the outcome was a disaster. The ink bled, creating awful jagged lines (hence the 90s r'n'b reference). It dripped spots of ink everywhere and then the nibs dried up completely, even after shaking and storing nib-down.
I tried ABSOLUTELY EVERYTHING from using a ruler, to masking up the line with tape, to trying to scrub it off immediately to create a straighter appearance. The drama was REAL.
In a panic, I went back online to seek help and saw a lots of posts about how the effect of the grout pens last until you clean the area. Here is the result of testing the awful patches durability.
Low and behold we find exhibit A -
Low and behold we find exhibit A -

Sorry pens, your just not for me. Or anyone in my experience. Such a waste of money, time and most of all - high hopes. No influencer salary just yet. This bad boy needed to be done properly.
There is lesson number one. No one wants jagged edges, or ink patches all over the bathroom, or the rising levels of anxiety caused by shit going everywhere and it not working at all. Maybe it was just my brand or bad luck? Who knows - CLICK TO AVOID.
However, the story is not over. Here is the first snapshot of the improved grouting. Thank Gaga for clean lines and bottle coordination. This is an image that is like those you could find on social media with some kind of caption like "isolation redecoration done in a day bathroom success #succulents". Without reading this post, you'd assume it was all easy peasy and came without hardship. NUH UGHHH. This blog don't lie. You know my secret and I am fine with that if it helps anyone to feel some relief from my decorating struggles. You are not alone!

For additional context I work as a Store Designer for IKEA, the powerhouse of home decor. My role incorporates not only designing creative interior solutions, but also physically implementing them (check out this blog post if you want to know more). So, you'd think that I'd be a dab-hand with these things. However, there are some things that you cannot prepare for, or know would happen and that introduces me to my next absolute nightmare...

Fail Number Two
So as you would, I masking-taped the ceiling so I could cut in sharp lines and not have to repaint the ceiling. But, as you can see, after pealing off the tape, it took the ceiling paint with it. OH YAY SO GREAT. SO NICE. NOT.
There is a reason for this that I could not have known. Whoever initially painted the bare plaster, did not seal the first layer. When this is neglected, the paint put directly onto the plaster just rips off. Lucky I had enough paint to do the ceiling isn't it!?

Wilko Onecoat of Wonder
Meet my second new bestie, Wilko Onecoat. This little £9.00 bargain was bought on a social distancing trip to Wilko for cleaning essentials.
Disclaimer-this is not a promotion (but if ya want to pay me, i'm so okay with that), nor is it encouragement to flock to your nearest Wilko during this time of isolation (but a heads up if you are going anyway).

My housemate and I are obsessed with black and white bathrooms, we have seen some amazing transformations online and soaked up a lot of inspo for giving it a go ourselves. We wanted to follow suit, get goth and delve into our dark side. Areas I wanted to tackle included the dingy, shabby old radiator and the inside of the bathroom door.

The gloss is a bit tricky, my advice would be to really take your time and not overload the brush with too much paint- you don't want a wavey streak, or any dripping going on. Make sure you cover your walls and anything you don't want painted. Especially if you are as clumsy as I am.


Prosecco + Sunshine Afternoons =
I am a huge believer in giving new life to what you have, rather than both wasting money and having a negative impact on the environment. Therefore, one afternoon we got a bottle of prosecco, popped on some tunes and enjoyed an afternoon of painting.
I am a huge believer in giving new life to what you have, rather than both wasting money and having a negative impact on the environment. Therefore, one afternoon we got a bottle of prosecco, popped on some tunes and enjoyed an afternoon of painting.
Painting what we already had gave new life to the existing accessories and fixtures in the bathroom. We painted everything using the same black gloss we used on the radiator and the door- spending zero gold coins!

Being in isolation is a great motivator for getting thrifty with what you already have to hand. I used anything I could get my hands on that would work for the styling of this space. This included creating a hanging planter from an old geometric lampshade and some black string, using an old Dream Cream pot for a cute new toothbrush holder and drawing some super feminist prints to finish the look whilst our actual prints are being created (support artists guys!).


So there we have it, the truth behind my up and coming insta posts. Heres a reminder of the bathroom before its isolation-redecoration (ewe).
And here we are post countless coffee's, paint saga's and awful grout pen experiences:


There are still some final touches that I want to make to the space-
- Annoyingly, we need some more grout for the sink area.
- We are awaiting the injection of feminist colour from the amazing prints we have ordered.
- Something needs to happen with that out-dated mirror. It includes a built in light which is wired into the wall, so I don't want to attempt moving it, but perhaps creating the black border instead. What do you think?
Current space

VS Aspired look

The most important part of sharing my journey with you is to really emphasise the following:
- Don't forget that what you see on the 'gram hasn't always been that perfect
- Don't be anxious about trying new things- if it goes tits up, you'll fix it somehow
- This transformation took days and it is such a small space, don't put pressure on yourself to finish things quickly
- Different walls and rooms need different types of paint, take a little time to research before you start as it could save you a lot of hardship
- Avoid grout pens (optional)
Until next time
xxx
No comments
Post a Comment